The radiator in your car and cooling system must be clean in order to keep your car cool and functioning properly. Over time, the radiator can accumulate solid debris that can eventually clog the cooling system. To get it back on track, an inexpensive and quick radiator flush is usually all it needs. It’s recommended to change the antifreeze in your car each season.
Before getting started on flushing your car’s radiator, be sure you have all the necessary items you need first. It’s frustrating to be in the middle of a project and discover you need to run and pick something up at the auto store. A true momentum killer!
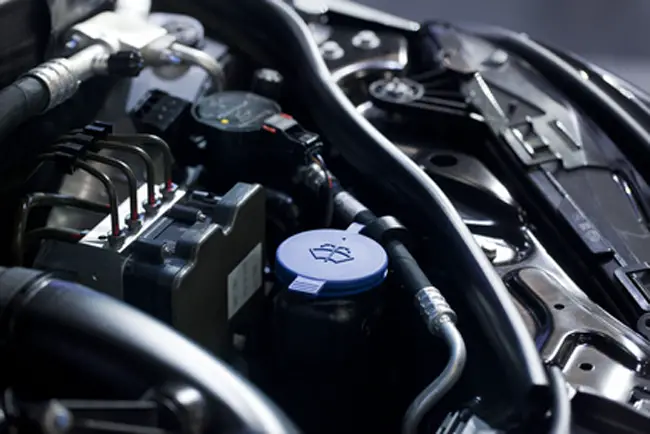
Here’s everything you’ll need to change your car’s radiator fluid:
• Coolant
• Used coolant container
• A few cloth rags
• Funnel
• Wrench or Phillips head screwdriver (depending which one your car requires)
• Radiator Flush solution
NOTE: Make sure your engine is completely cool prior to loosening or removing the radiator cap. Hot coolant can cause serious injuries.
Step 1: Drain the Old Coolant
The first step is to drain out the old coolant from your car’s radiator. Check the owner’s manual to locate the plug in order to drain the radiator if you can’t find it on your own. Obviously, it’s located somewhere underneath the radiator, and is likely a bolt plug, screw plug, or a simple drain valve (petcock). Before you attempt to open the drain, place the used coolant receptacle underneath the plug first to avoid any spills.
Using your catcher underneath the drain, carefully unscrew it and simply allow the coolant to completely drain out. If you have a bolt or screw type plug, completely remove it. If it’s a petcock type, open it up all the way.
NOTE: Coolant is toxic to both humans and pets. Some pets, however, may think it tastes sweet and will try to lick it. Ingesting coolant is fatal. Never leave it in an area where pets or children can access it. This includes a tiny puddle that may tempt your pet to sample it.
Step 2: Replace the Drain Plug and Proceed
Once every last drop has drained from your radiator, put the drain plug back on and proceed to remove the radiator cap. Next, slowly pour the radiator flush solution into the radiator being careful not to spill it. Last, using fresh water, fill it to the top.
Put the radiator cap back on and tighten. Get in your car, turn it on, and let it run till it reaches its normal operating temperature (the point on the gauge where it usually rests in normal operating mode).
Turn your car’s heater on to the warmest position possible. With the heat on, let your car run for a minimum of 10 minutes. Next, turn you car off and wait again for the engine to completely cool down. It’s too hot to open if the either the cap or metal radiator feels hot when you touch it. If it’s hot – DO NOT OPEN.
NOTE: Never attempt to remove your car’s radiator cap while the engine is hot. Serious or even fatal injury could occur.
Step 3: Repeat the Draining Process
Once your car’s engine has completely cooled off once more, carefully open the drain and empty the entire contents of your car’s radiator. Hang on, you’re almost done.
Based on how large your particular coolant receptacle and cooling system is in your car, you may need to use an additional container so you’ll have enough room to drain it again. In any case, never let the coolant hit the ground.
That’s it! Now that you’re almost finished, the only thing left to do is to refill your car’s radiator with fresh clean coolant. Go ahead and restore your drain plug or completely close the petcock, depending on your car.
Step 4: Fill the Radiator
Using your handy funnel to avoid any spills, fill your radiator with a mixture of 50/50 coolant and water. Today, most coolant comes conveniently premixed and eliminates the need to measure or guess. Once the radiator is filled, proceed to fill up the plastic coolant reservoir. Again, use a 50/50 mix if your car has separate openings.
Be sure to fully tighten all the caps and you’re set to go. Also, it’s best to check your level of radiant coolant within a few days to make sure it’s at the proper level. Sometimes you may need to add a bit more due to an air bubble escaping.